Here’s a fun new update I never thought I’d be writing – I’m dating an Irishman. Turns out I’m a sucker for an accent, but aren’t we all?
My boyfriend grew up on a sheep farm in the west of Ireland (yeah he’s authentic) and one day I asked him what his favorite memory from home was.
“Sitting at the kitchen table reading, my mom is probably baking something. There might be a lamb or two by the fire.” He said.
“As in the meat?” I asked, wondering if he had a hankering for a Gyro or kabab.
“As in the baby sheep.” He corrected me.
“Right. Naturally. Baby sheep in the kitchen warming themselves by the fire. Typical. (?!) Well, what does your mom make that you like so much?”
And with warm eyes and a soft smile he said “Banoffee pie.”
So that was it – that’s when I knew that one day I’d have to figure out what Banoffee pie was. And then I’d have to figure out how to make it gluten-free. (Cuz homegirl isn’t baking anything I can’t taste for myself)
After a quick Google/Pinterest/YouTube search I knew that Banoffee pie -while originally British – is a favorite and common Irish dessert, composed of
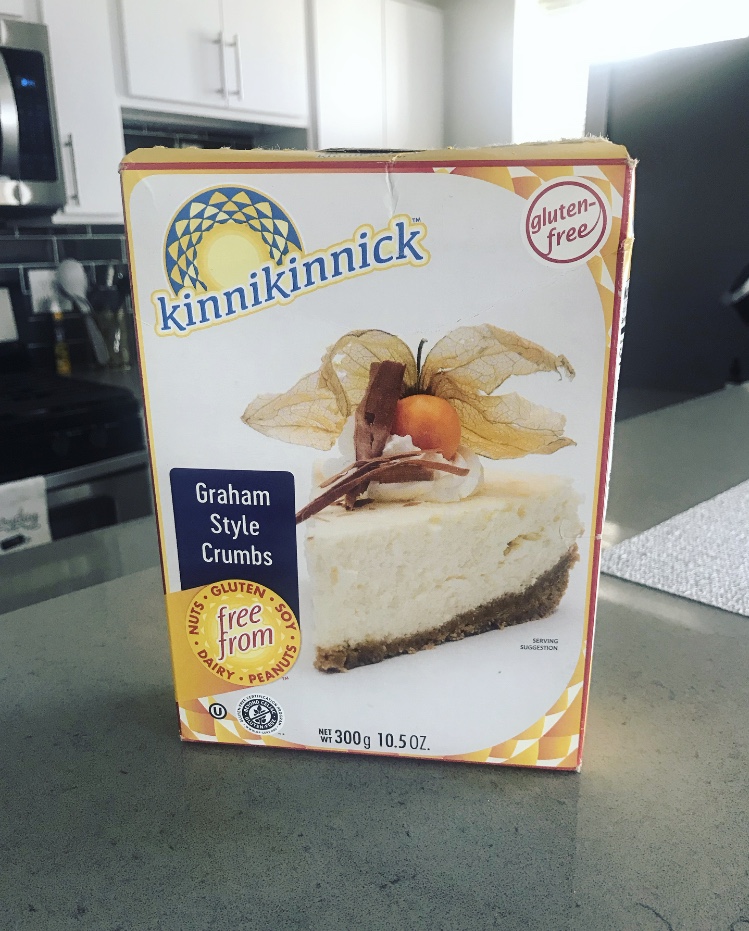
Some recipes mentioned graham crackers in place of the digestive biscuit crust and seeing that my mother is also a baker, I called and asked her what brand of gluten-free graham crackers she’d used in her last round of mini cheesecakes.
After a quick Amazon order (how much more millennial can this recipe get?) I had these puppies on their way to me.
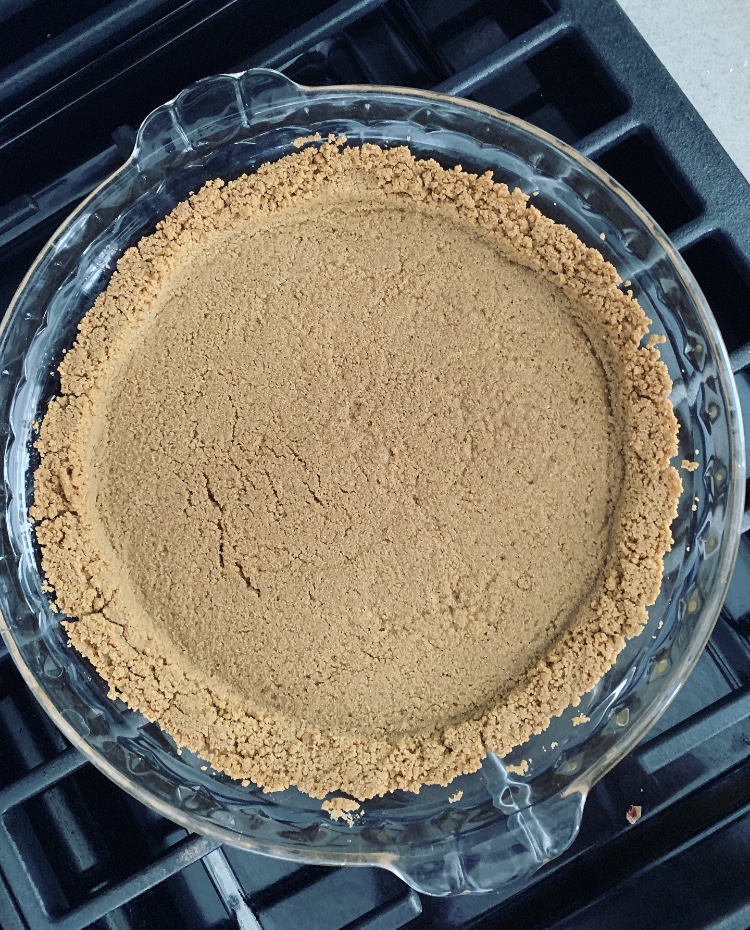
Making a pie crust with these is REALLY easy. Pour melted butter into your graham cracker crumbs and mix together until it feels and looks like wet sand. Push into a pie dish and make it look pretty. get those sides crisp! Bake at 350 F for 12-15 mins until you can smell the crust and it looks golden brown. Really – crispier the better here so go 15 mins. Let cool COMPLETELY.
The next thing I needed to tackle was this “dulce de leche” – turns out you really can’t just go pick it up in Jewel. Dulce de leche is essentially caramelized sweetened condensed milk. There are a bajillion in one ways to make it – and I chose the least detrimental sounding method seeing as I’d only purchased enough condensed milk for one try. (Note to self – always buy extra)
So here’s what you do if you REALLY don’t want to: burn yourself/blow up your stove/burn condensed milk permanently to a spatula, pot
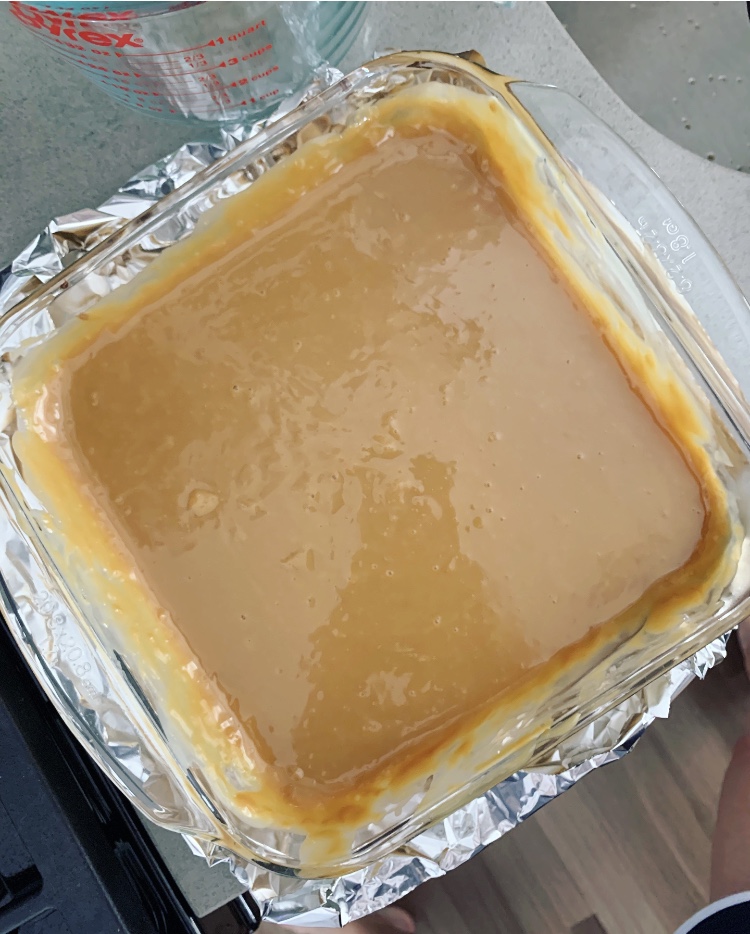
- Preheat the oven to 350 F and empty sweetened condensed milk into an oven-safe container like a pie dish. Cover lightly with foil.
- Place that container onto a baking sheet and fill the baking sheet with water so that half of the pie dish is submerged. If you have a roasting pan this is a lot less wet of a process than I went through. But
a simple baking will work if that’s all you have. Just move at a snail’s pace when putting the water-filled baking sheet into the oven. - Now we wait. My dulce de leche took about 2.5 hours to caramelize. At 45 mins in I poured in more water just to make sure the dish was covered. The nice part about this method is no stirring or burning! The water bath heats the milk evenly so you don’t get any burned bits.
- At 2.5 hours check your milk – it should now be dulce de leche. I pulled mine (ever so slowly) out of the oven and stirred it to get any lumps out, and then let it sit until COMPLETELY cool. I also added a dash of vanilla extract.
Ok home stretch here – all that’s left is the homemade whip cream. NBD right? Well if you don’t have a stand mixer, get ready to sweat baby.
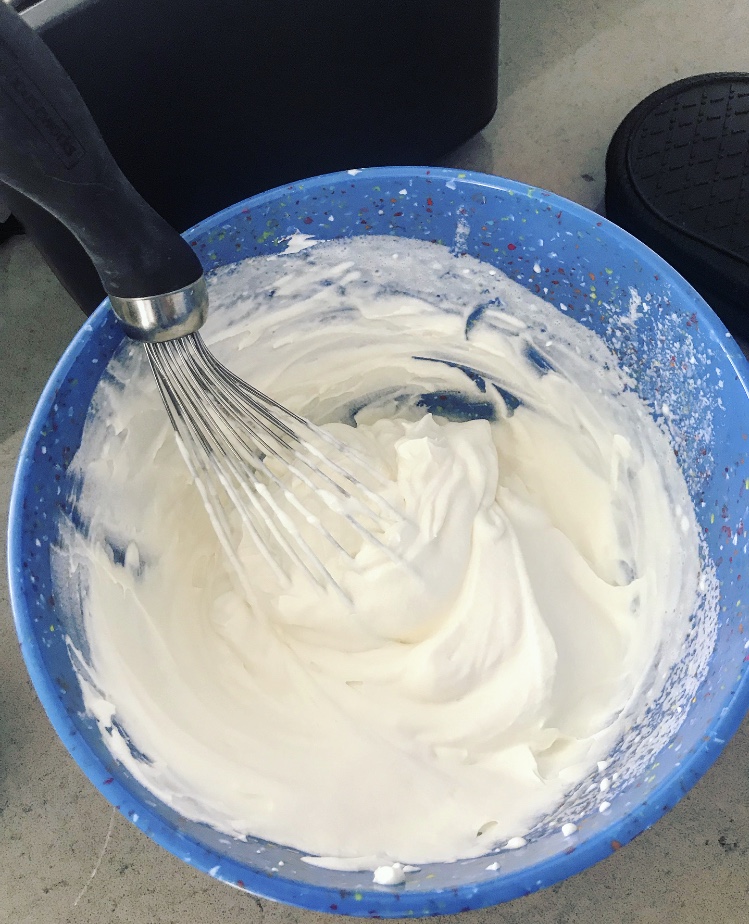
Pour your heavy whipping cream, vanilla extract, sugar, and cream of tartar into a bowl. Whisk. Whisk some more. Keep going. You can do this. God knows if I can, you can.
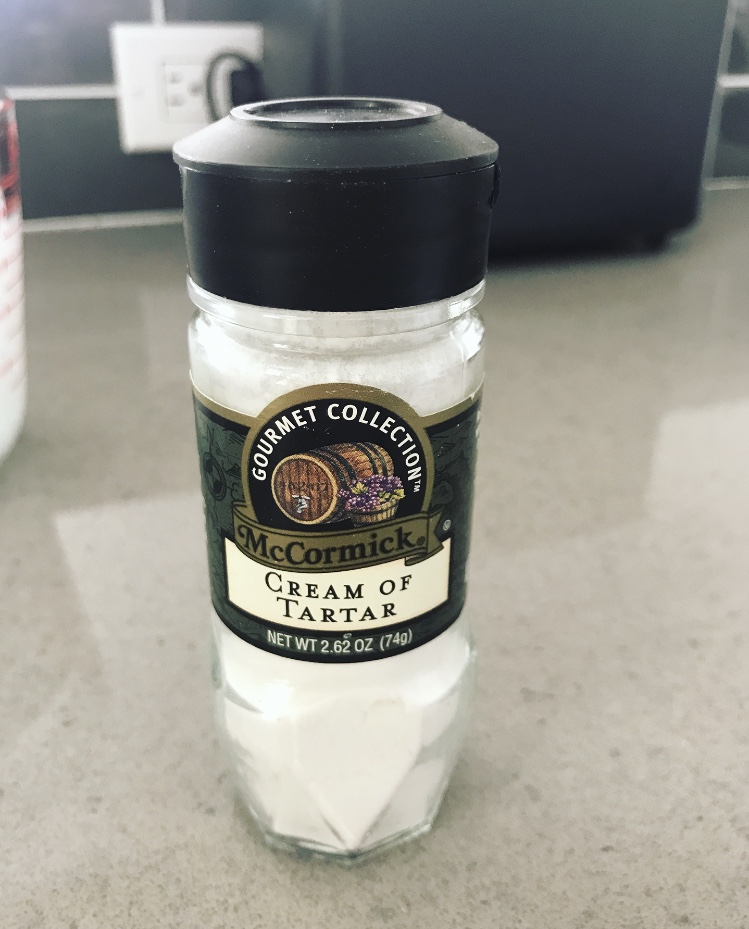
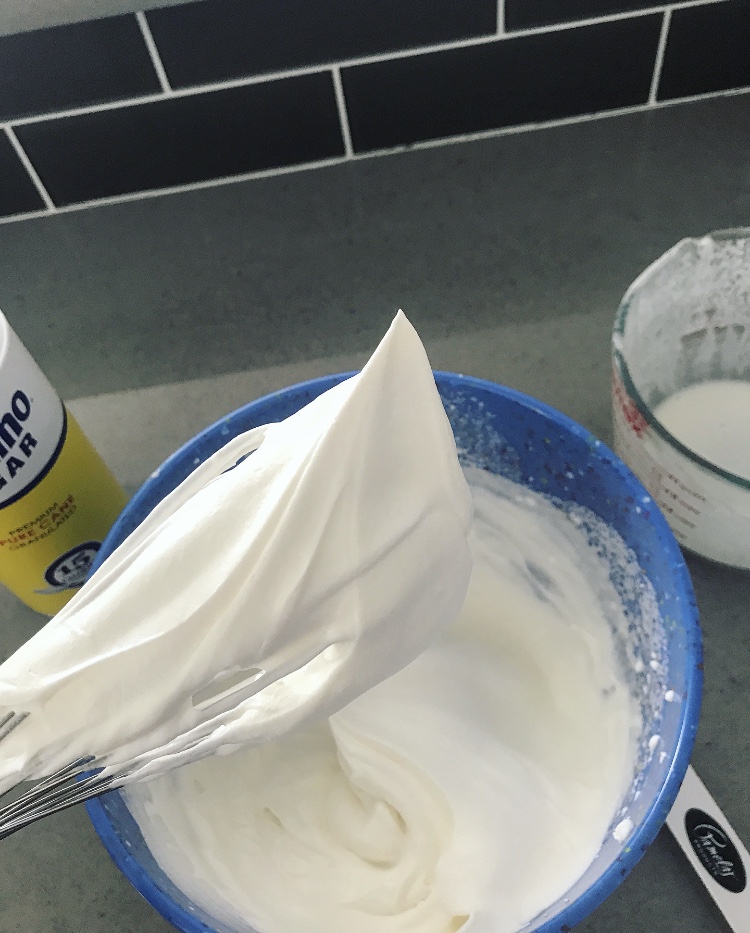
I highly recommend getting some of this – this was the only way my cream turned into whip cream. At a certain point your cream will whip – you’re aiming for medium soft peaks. Don’t over whip! If you do, you can add a little cream in and thin it out again.
If you haven’t noticed by now – making this pie from
To assemble (the fun part):
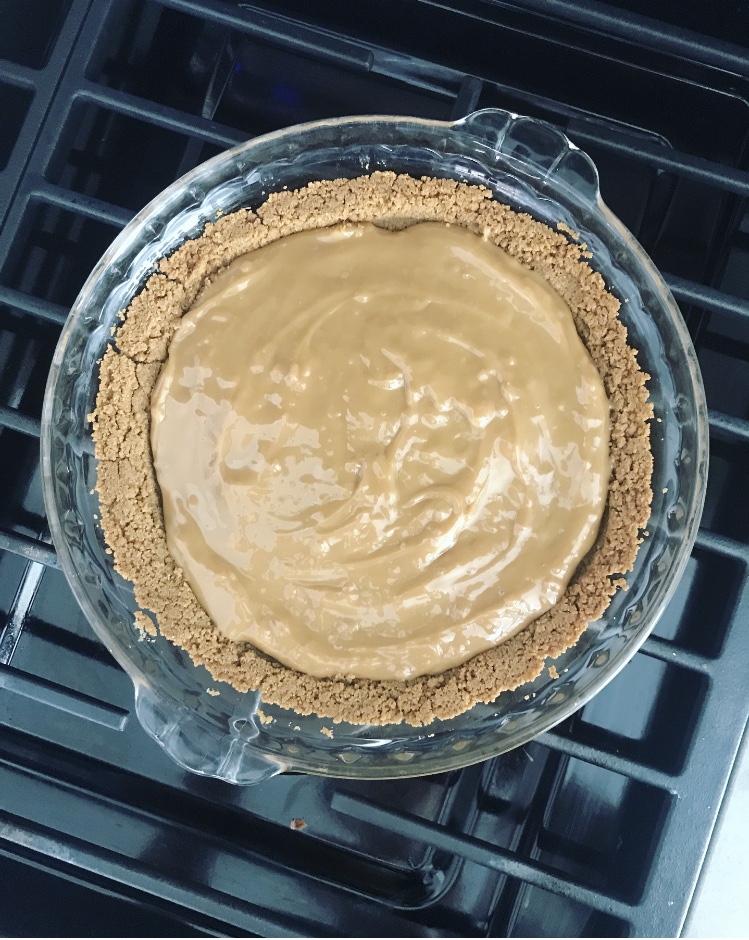
- Pour dulce de leche into pie crust.
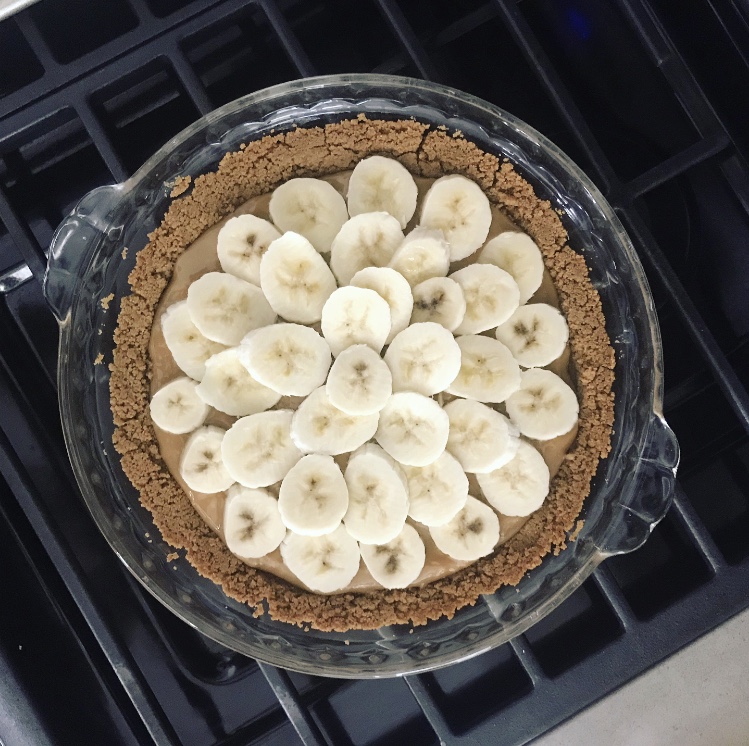
2. Slice bananas (roughly two) and layer on top.
3. Top with whip cream and your chocolate shavings. To make the chocolate shavings I took a veggie peeler and shaved the side of a chocolate bar.
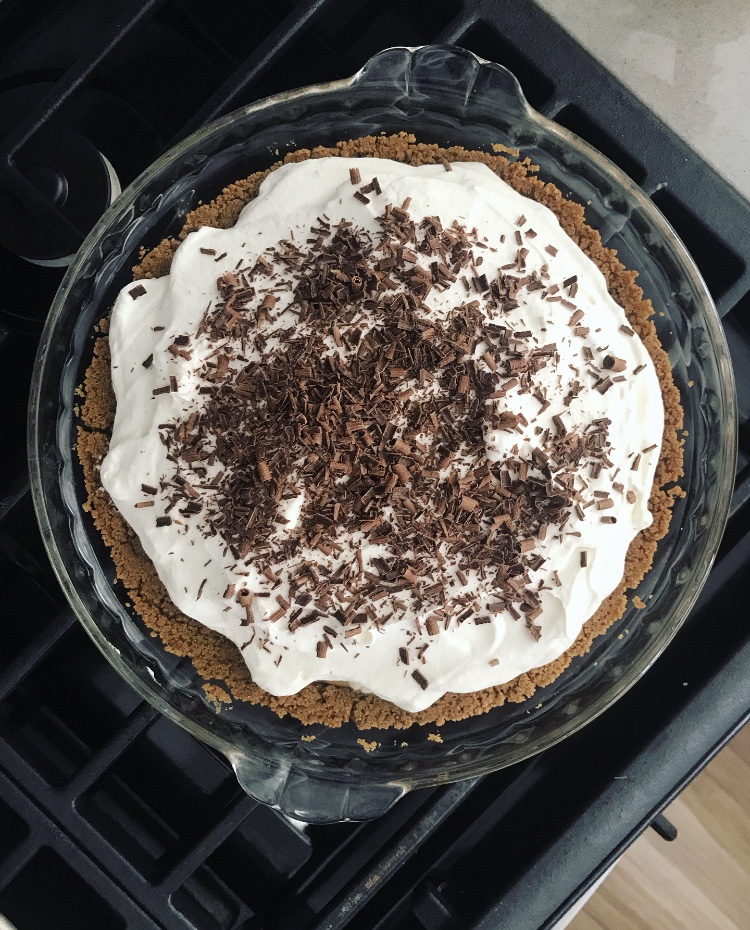
And FINALLY, after all of that hard work, spilled water, and tears (JK) you will have a homemade, Gluten-free, B
Recipe measurements below.
- Crust
- Graham Crackers – 2 cups for a standard pie dish
- Butter – 6 TBSP
- Dulce De Leche
- 1.5 Cans of sweetened condensed milk
- Vanilla extract – just a dash
- Whipped Cream
- Heavy whipping cream – 2 cups
- Sugar – 3 TBSP
- Vanilla – just a dash (1 TSP)
- Cream of tartar – 1 TSP
- 2 Bananas
- Chocolate Shavings
- 1 bar – as much as you desire.
As always – sharing is caring so pin and share this post to get the word out there that #glutenfree banoffee pie exists! #Lifesabeacham
(PS – the BF says the pie tasted just like home) Think I nailed it 😉